Cotton sateen, with or without spandex, is an excellent fabric for stitching up Eureka! Pants that Fit. The fabric is almost always washable with enough drape and opacity to yield successful pants.

I kicked off the early summer season by making some much-needed navy sateen pants. My favorite navy pants, in stretch pique, have become tired and faded; still fine for kicking around but not neat enough to stand up to my wardrobe of TRJ’s and TRK’s that cry out for a navy base. I had purchased the navy sateen months before and pre-washed it so it was ready to cut and sew.
When I pre-wash sateen, I serge the raw edges and wash it on the gentle cycle in cold water. After it has hung dry, I finish it off with a brief spin in the dryer to soften it up. If your sateen is a blend, with some rayon, silk, or wool mixed in with the cotton, pre-wash a small sample and check for shrinkage or color fastness before washing the entire piece of fabric.

The washed fabric will probably need to be pressed before cutting out your pants. Press lightly on the wrong side to avoid iron imprints on the satin finish. Take the pressed fabric immediately to the cutting table.
While laying out the fabric, observe if it has a preferred direction. It is best to use a “with nap” cutting layout. While it may not be immediately evident on the cutting table, the directional sheen might be noticeable on the finished pants.
As a general guideline, the more spandex there is in the fabric, the closer the pants need to fit. For summer, consider stretch sateen in a cropped, slit hem style. Carrie made a black pair of Eureka! pants made based on her blog post on sporty capries we featured in June. If the fabric has no stretch, the basic tapered Eureka! leg or a boot cut leg, described on page 15-16 of the Eureka! direction booklet, will make a fine finish.

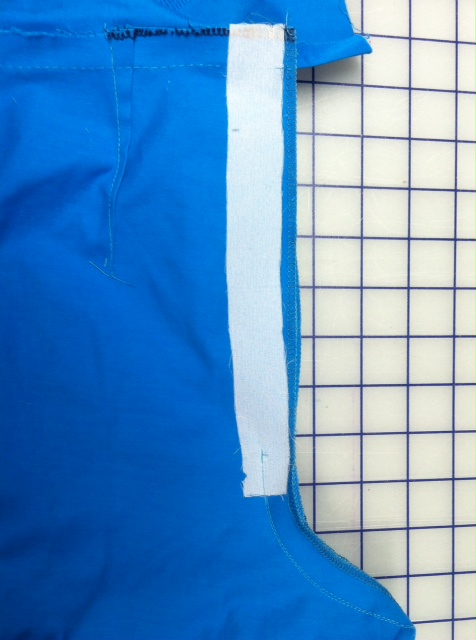
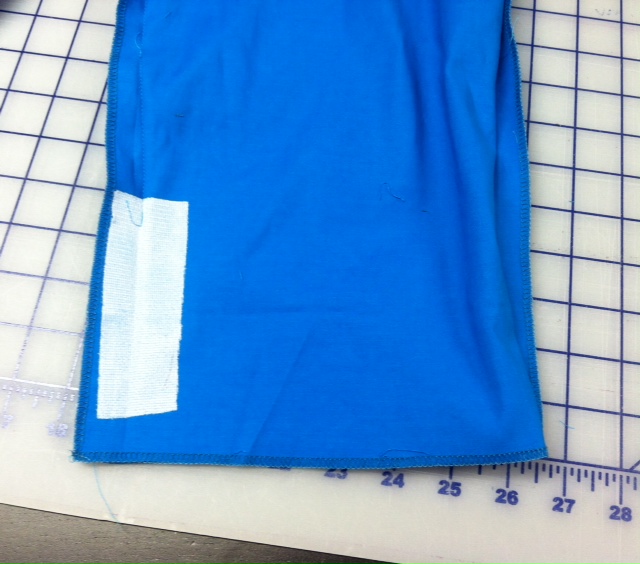
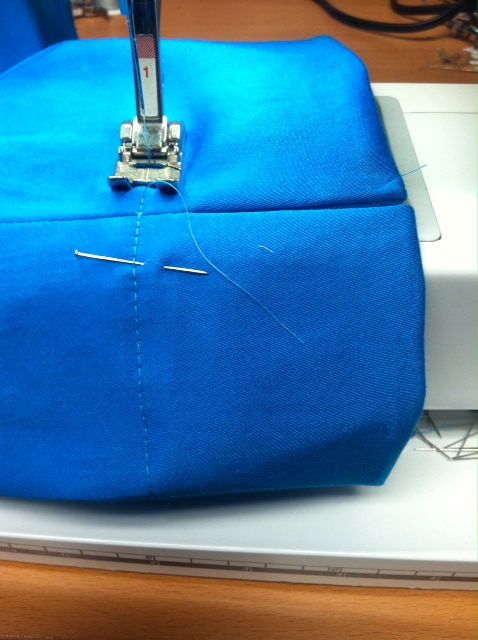
Use a light weight interfacing to support the zipper opening, pocket openings, and hem slits you are adding to style the pants.
When I make a dressy pair, I use an invisible zipper and hand hem the pants, like this ivory pair I made to wear with a silk jacket to a summer wedding.
For everyday pants, I use a lap insertion standard zipper. The hem is topstitched in place to assure a neat and fresh finish after each machine washing.
This has certainly been my summer for sateen pants. As I mentioned, I started with a navy pair, then added the ivory pair for a wedding ensemble, a brown non-stretch pair to wear in the ASG fashion show, and a fresh new black pair. I also made a cheerful bright blue pair for a client.
I don’t wear a lot of printed pants, but there are very fun print sateen’s for pants available in many fabric stores. I buy most of my sateen pants fabric at A Fabric Place in Baltimore. They stock a lovely selection in many colors. If you do not live locally, call them to request some swatches. My JoAnn’s store stocks a fairly light weight stretch sateen, in the bottom weight section, which works well for summer pants. They also have some prints in their special collections. Many other online sources have sateen, check out some of the fun sateen prints at Style Maker Fabrics.
Have you made sateen pants? If you have a printed pair, would you photograph them and send the photo our way so we can round out the visuals for this post. As we move toward September, it is the perfect time to stitch up sateen pants to take you from summer to fall in style.
Happy Sewing, RAE


Rae, did you make that lovely pink coverup in the first photo? I think it’s stunning.
I do so enjoy these postings and look forward to their arrival in my inbox. On to cotton sateen!
I love the pink jacket shown in the top photo. Do you have instructions for making it? Thanks,
Irene
The pink top in the first photo is made from a vintage table cloth. I will look for the photos I took while I was making it and maybe turn it into a blog post. Thanks for asking. RAE