Welcome to Sew! Let’s Get Dressed, a weekly blog that encourages you to sew successfully.
During our August retreat, we introduced a technique called “boro”. This is a trendy hand quilting technique we had read about in a terrific article by Mary Ray in Threads magazine, Boro Style, issue number 195 (March 2018) pages 48-53. The term “boro” comes from the Japanese art of mending, used to patch worn garments or household items by sewing patches in place with a simple running stitch known as sashiko. Sashiko is traditionally done in heavy white thread on indigo. For our purposes, creating a stylish garment, we are adopting the patch and stitching techniques but not following the traditional Japanese rules.
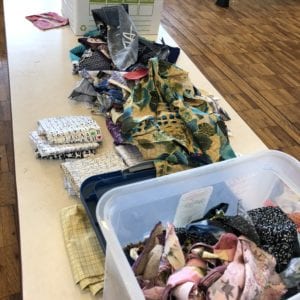
We introduced the technique at the retreat with piles of fabric scraps,
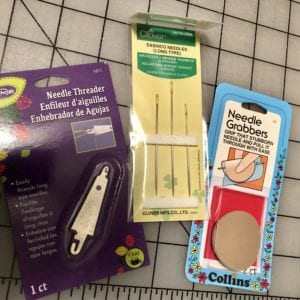
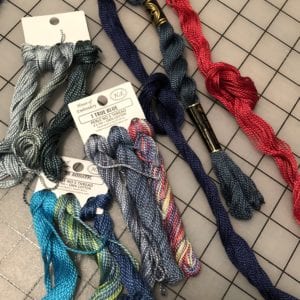
some threads and special tools – extra long sashiko needles, needle threaders for heavy threads, and a little rubber gripper to help get the needle through the 3 layers of fabric.
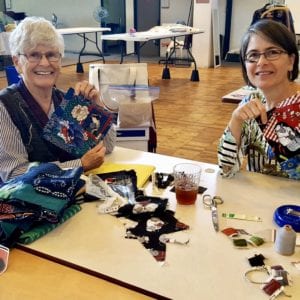
We started out making little test samples, as you can see me and my mom working on here.
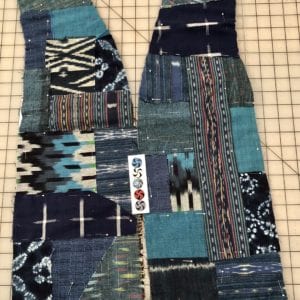
I had a few pieces of lovely cotton wovens from Mekong Textiles that I wanted to use to make a vest with my Tabula Rasa Jacket pattern, so I went through my stash and Rae’s pulling fabric scraps in related colors and similar textures for my project. I laid them all out on my work table and eventually narrowed it down to a pile of predominantly indigo blues with splashes of green, teal blue, gray and red. I went shopping for some perle cotton embroidery thread in appropriate colors and ended up buying size no. 5, thinking I really wanted the quilting stitches to show up.
Following Mary Ray’s directions, I cut out my pattern pieces in muslin and in a printed cotton fabric for the backing, then basted those two layers together. Next, I started cutting and layering fabric scraps on top to cover each pattern piece. Here you can see my first effort with the vest fronts, lightly pinned.

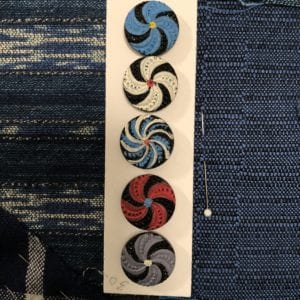
I was glad I took this photo because it showed me that the batik patches stood out too prominently! After a little more fussing and rearranging, I settled on a happier array. Luckily, I had the vest with me at the Fredericksburg Original Sewing & Quilt Expo; while I didn’t get much stitching done, I did find some perfect buttons at Dusty’s Vintage Buttons!
I started my hand quilting on the back of the vest, so I could get some practice in where I wouldn’t see my mistakes in the mirror. My progress is slower than I had anticipated, mostly because I’ve found the best time for me to work on it is while a passenger on long drives.
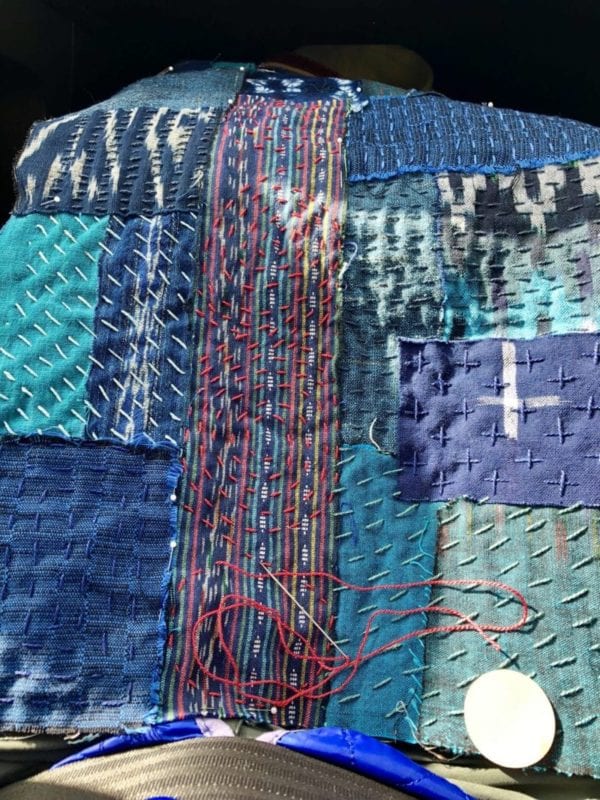
Here you can see the vest back a little more than half completed, showing my experiments with different stitches (length, intervals, color and shapes) and learning as I go.

A few reflections from what I’ve learned so far…
- It is hard for me to be random with design!
- It takes a lot of tugging to pull this fat needle eye and perle cotton through the 3 layers of fabric. Consider other options: skip the middle layer? choose fabric with a looser weave for the middle or back layer? Smaller needle or lighter thread?
- Make sure the patches have a sufficient overlap, at least 1/4”.
- Stop the quilting stitches at least one inch from the seams that will be joined later. For my vest, this applies to just the side and shoulder seams.
The magazine version of Threads article “Boro Style” includes a list of resources for purchasing boro supplies online if you are interested in giving it a try. Have you already done a boro project? We’d love to hear about your experiences with the boro technique and see photos of your projects.
Happy Sewing, Carrie
Enjoy receiving our blog? Forward this post to a friend by clicking on the Forward link at the upper right corner of your e-mail notification. Remember that the beauty of the Fit for Art System is you can sew successfully with endless variations. Take a moment to review our variation patterns offered by clicking here. Also, are you following us on social media? Take a moment to check us out on Facebook and Instagram and follow the hashtags #fitforartpatterns and #sewsuccessfully.


I absolutely ADORE this! As I am considering my scrap heap, I am thinking that a bucket of scraps from Mekong River Textiles would be the ideal medium. I reread the Threads article after reading this post, and appreciate your thoughts on “these are the challenges you might face.” I really want to try this!
Most of my scraps also came from Mekong. Really nice textures for this project! Can’t wait to see what you make, Lugene. You always do such beautiful work!
What did you choose for side panels…couldn’t really tell from pics.
It was a piece of multi-color woven cotton. You can see it in several of the photos and is the same fabric I used for the pocket. Isn’t it interesting how much the boro stitching changes it?