Choosing a neckline finish for any Tabula Rasa Knit top is an adventure. You have to decide what type of design will flatter your face and also allow the fabric to shine. This summer, I was faced with those questions as I planned a tunic top made with scraps from our knit bundles.
The piece I wanted to feature was small, about a ½ yard piece of a border print with a broad vertical striped border. Kat, the Capital Quilts business manager and a sewing friend, had used this bundle to make a tunic during a knit class. Together we had moved the print around her body to find the best placement of the beautiful border. The best placement by far was to cut the front and back on the crossgrain, placing the border in the front above the chest.
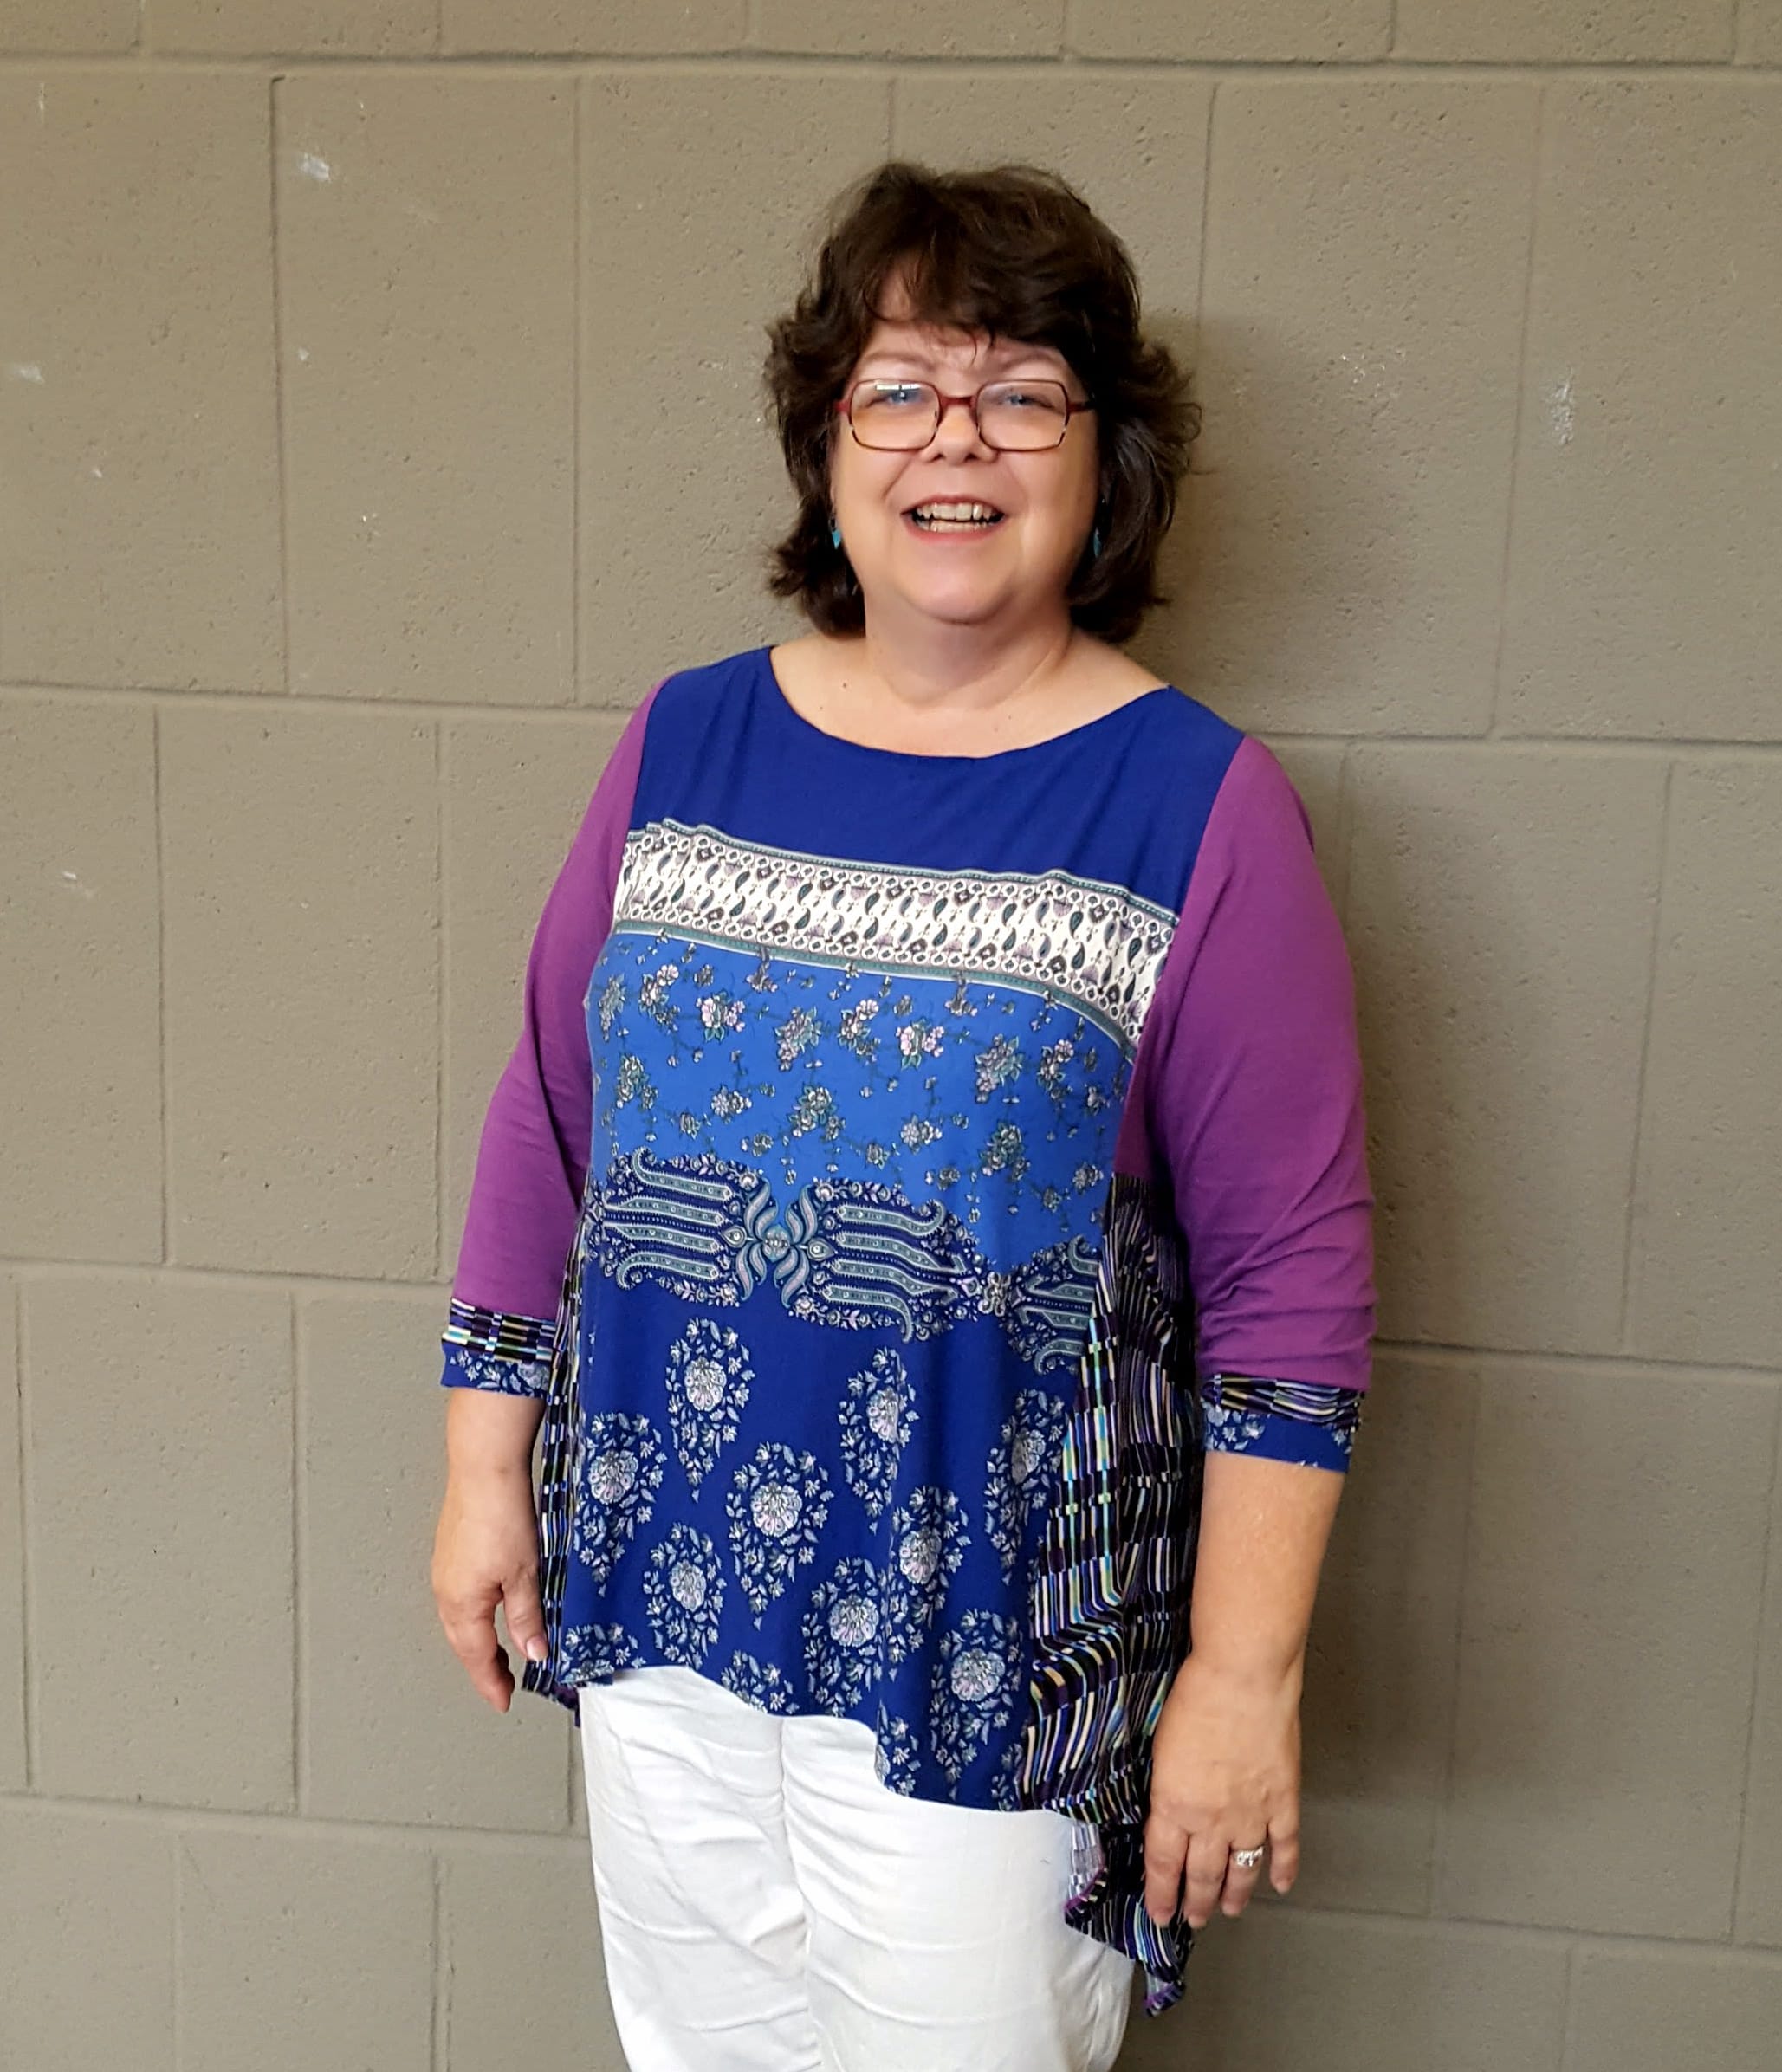
Kat loves the U-neck and so she used it on her tunic. Because I did not want to be a copycat, I decided to use a ballet neckline from the Wide Neckline Variations for my top. I thought the straighter finish would complement the fabric’s print when it was placed horizontally.
The ballet neckline has two classic finishes: A band finish (which you can see up close in the Bundles, Boats and Ballets post) or a turned under finish. This simple turned under finish is the one I chose.
Here are the step-by-steps to inspire you to try it too. If you will be at the Cincinnati or Fredericksburg OSQE you can watch me demo this easy neckline in the Fabulous Knit Finishes sampler class.
Once your fabric is cut, the front and back necklines must be interfaced. Choose a soft stretchable fusible interfacing. Both choices in our Interfacing Sampler for Knits and Fine Fabrics would work well.
Follow the directions in the Wide Neckline Variations (WNV) booklet to interface both neckline curves and the shoulders on either the back or front. Test the interfacings on scraps first before applying them to your actual front and back.

After you have fused the interfacing in place, clean finish the shoulders and neck edge. I used the 3 thread overlock stitch on my serger.
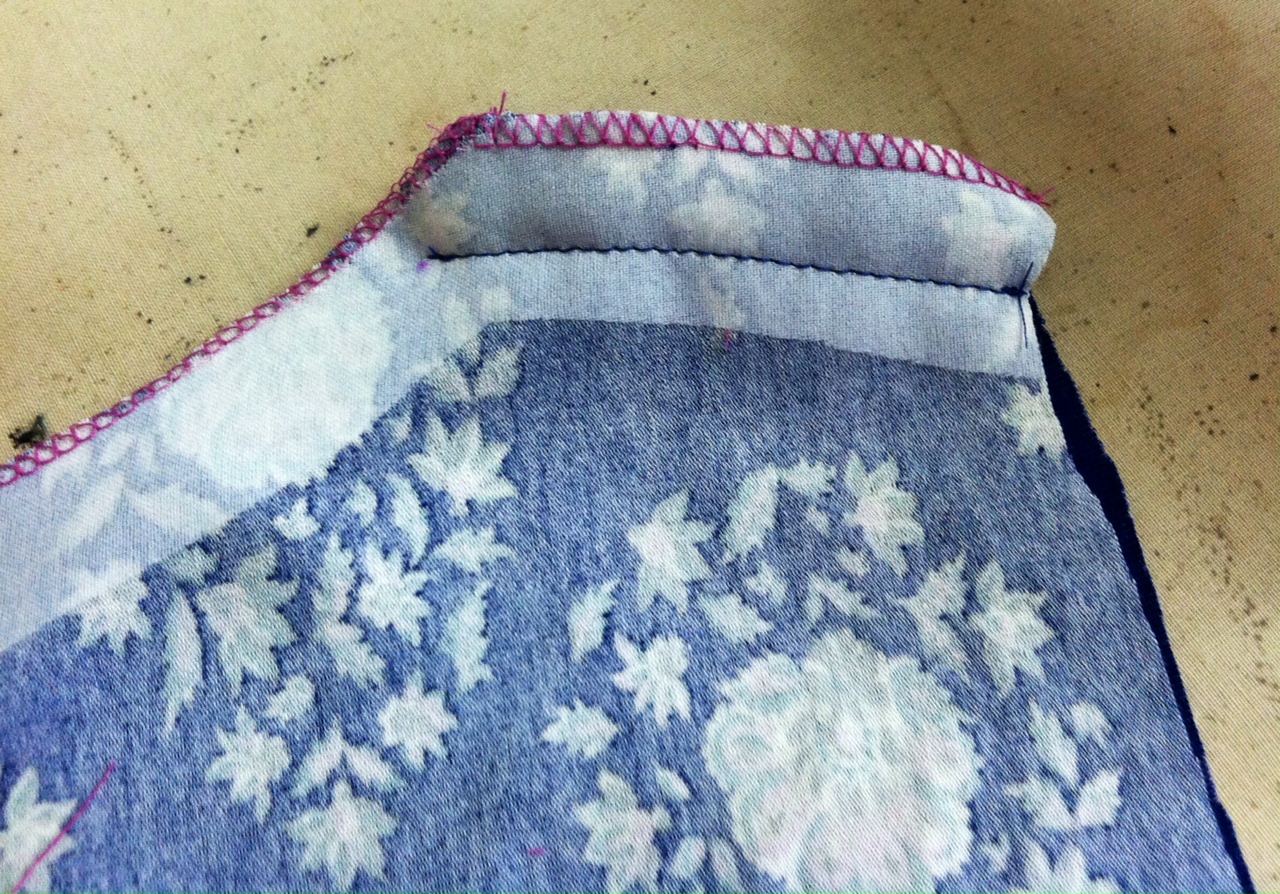
Stitch the shoulder seams leaving at least 3/8” unstitched at the neck edge of each shoulder. This allows for a smooth application when turning the neck edge to the inside, pressing it and top-stitching it in place.
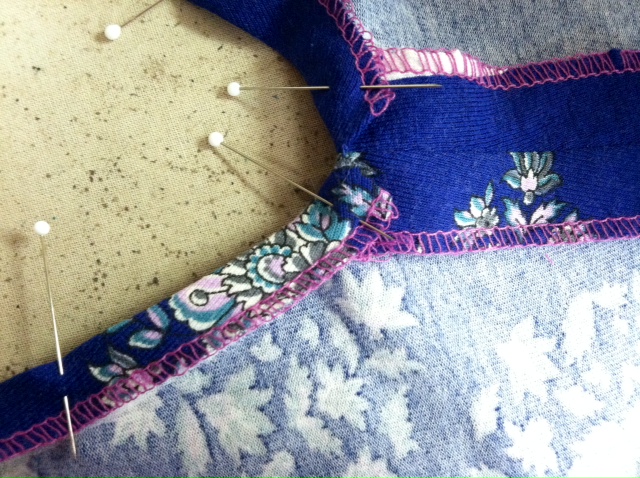
The preparation and stitching should be done slowly and methodically. It looks so much better if the stitching is even all around the neck and you have pivoted neatly at each shoulder. My preference is to pin it in place, press, and then top stitch on the outside so the stitches are neat and precise.

I am pleased with how this tunic’s neckline echoes the print in the fabric and I believe it will be a staple in my transitional fall wardrobe with denim or navy straight leg Eureka! Pants.
We do not have any more of these bundles but we have some wonderful new knit bundle combinations that will grace our expo booth this fall. Carrie featured one in this week’s Instagram project of the week @fitforartpatterns. Perhaps you will want to take one home to design your own top.
Have you made any fun Tabula Rasa Knit tunics or tees with a Fit for Art Knit Bundle? We would love to see it. Do you have a bundle waiting to be stitched up? Let this post inspire you to #sewsuccessfully with #fitforartpatterns. These tops are such a welcome addition to your wardrobe.
Happy Sewing! RAE


I didn’t think it would work but I really like it. I’ll try that myself sometime.
It works best on fairly straight necklines. Send us a photo when you try it.
Very interesting